Start here
The recipe I’d start with
This is probably where I’d start. You get enough glycerin to bring back a darker, richer finish without going as heavy as the batch I made in the video.
Everything below makes a real 250 mL bottle. If you want a different size, the calculator scales all three numbers for you.
99.9% isopropyl alcohol
The carrier. Flashes off and leaves the glycerin behind.
Distilled water
Distilled, not tap — tap water leaves minerals behind.
Vegetable glycerin (USP)
This is the dial. Everything about the finish lives here.
Three glycerin levels
Pick your shine
The alcohol stays at 75% in all three. All you’re really changing is how much glycerin gets left on the surface once the alcohol and water evaporate — and the water moves to keep the bottle at 250 mL.
OEM / Low shine
- Isopropyl alcohol187.5 mL
- Distilled water55 mL
- Vegetable glycerin7.5 mL
75 / 22 / 3
The lightest glycerin concentration. Best if you mainly want to bring a dry, chalky-looking rubber or plastic surface back to life without leaving much visible gloss.
Satin / Medium
- Isopropyl alcohol187.5 mL
- Distilled water47.5 mL
- Vegetable glycerin15 mL
75 / 19 / 6
Noticeably darker and richer without going all the way into a glossy dressing look. This is the version I’d tell most people to test first.
Glossy
- Isopropyl alcohol187.5 mL
- Distilled water42.5 mL
- Vegetable glycerin20 mL
75 / 17 / 8
More glycerin means more visible shine and a heavier finish. Use less product during application and buff it out properly afterward, or it will look greasy.
Not sure? Start between 7.5 and 15 mL. You can always make the next batch glossier.
Whichever card you pick carries down to the calculator.
Full transparency
What was actually in my bottle?
In the Reel I wasn’t measuring the glycerin carefully. I eyeballed it. What went in was roughly 187 mL of IPA, 55 mL of distilled water and somewhere around 20 mL of glycerin.
That adds up to about 262 mL of finished product, not 250 mL. So the bottle in the video is a little heavier on glycerin and a little weaker on alcohol than the numbers I gave you above. For this page I cleaned it all up so every recipe here makes an actual 250 mL batch and the percentages are honest.
If you liked how the one in the video looked, that’s basically the Glossy card — go 8% glycerin.
- Isopropyl alcohol 187 mL 187.5 mL
- Distilled water 55 mL 47.5 mL
- Vegetable glycerin ~20 mL 15 mL
- Finished bottle ~262 mL 250 mL
- Ratio ~71/21/8 75/19/6
Left is what I actually poured. Right is the version I’d hand someone.
Scale it to any bottle
Dilution calculator
Pick your bottle size and your finish. The alcohol stays at 75% of the final volume, the glycerin sets the finish, and the water fills whatever is left.
The calculator needs JavaScript. It’s off (or blocked) right now — but every recipe on this page is written out in full above, so scroll back up to Pick your shine and use those numbers.
15mL
47.5mL
187.5mL
Satin / Medium • 250 mL bottle
Materials
Where I’d actually use it
This is a rubber-and-hard-plastic mixture. Those are the surfaces where a little glycerin genuinely makes something look alive again instead of grey and dusty.
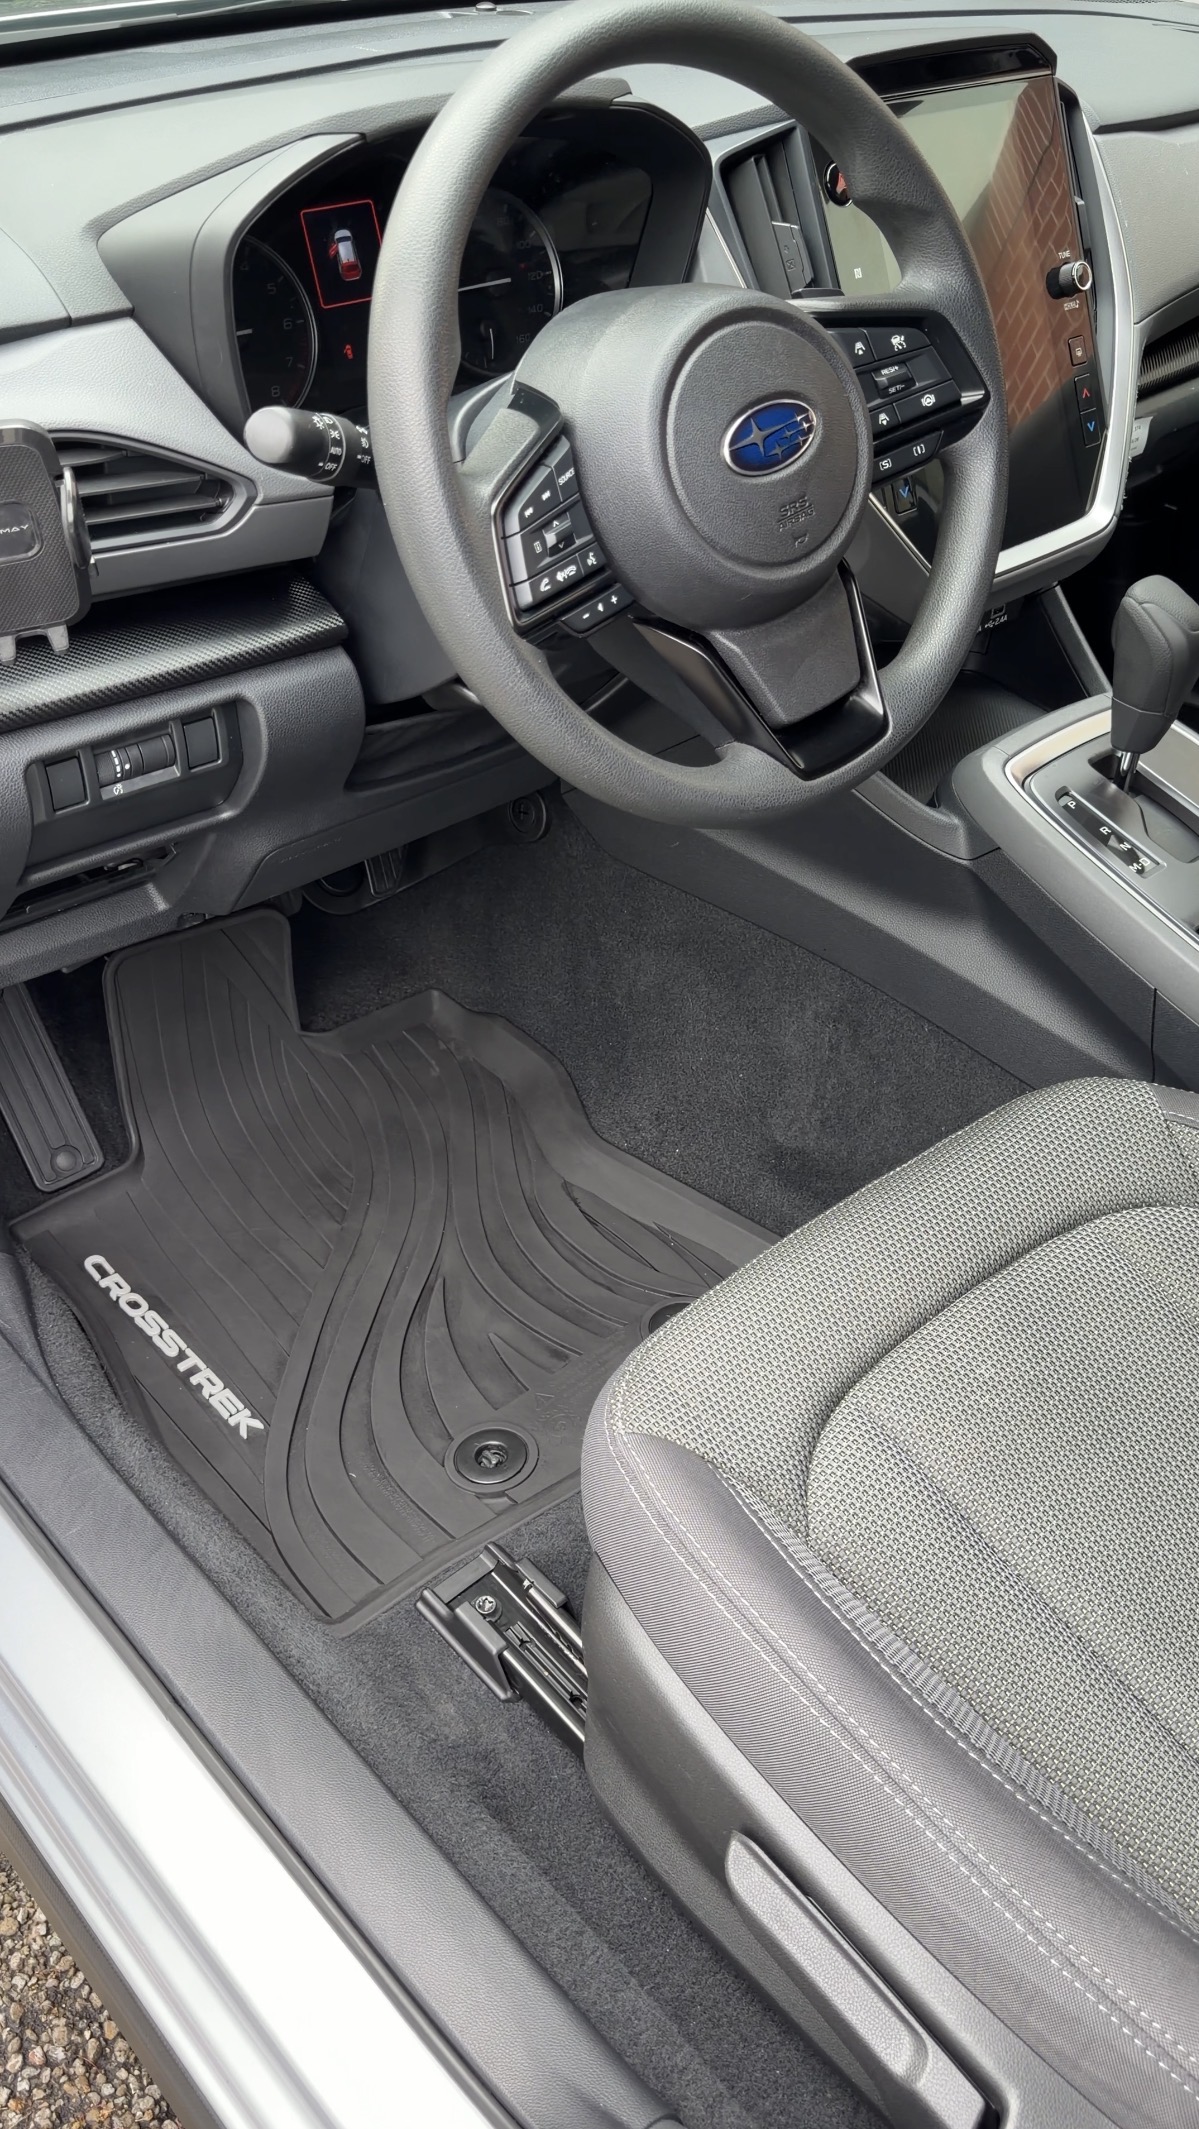
Rubber floor mats
Textured rubber surfaces
Hard interior plastic flooring
Durable unpainted plastic trim
Work-truck and utility flooring
Rubber cargo and trunk liners
The question everyone asks
Can you use it as tire shine?
Technically yes. The glycerin will darken rubber and give a tire a dressed look for a while. But this is not what I’d reach for as a dedicated exterior tire dressing.
Glycerin is water soluble. Rain and the next wash will knock the finish down a lot faster than a purpose-built tire dressing would. Expect exterior durability to be relatively short, especially once the tire sees weather.
So: a quick temporary tire shine, not a durable exterior tire coating. If your car lives outside in San Francisco, that difference matters more than you’d think.

Expectations
How long will the finish last?
I’m not going to give you a number, because there isn’t a lab-tested durability figure for a homemade mixture and anyone quoting you one made it up.
On an interior rubber or plastic surface, the appearance tends to stay until normal foot traffic, dirt or the next cleaning gradually takes it off. Exterior rubber loses it much faster, because glycerin dissolves in water.
Surface material
How much product you apply
Glycerin concentration
Foot traffic
Water exposure
Cleaning chemicals used after
Application
How I’d apply it
None of this is complicated. The only part people get wrong is how much they use.
Clean the rubber or plastic properly first. This is a dressing, not a cleaner — anything still on the surface gets sealed under it.
Let the surface dry completely. Not damp. Dry.
Shake the bottle. Glycerin settles out and you want it mixed before it hits the applicator.
Put a small amount onto an applicator pad or a microfiber. Never spray directly onto the surface — you lose all your control that way.
Spread an extremely thin, even layer. Thin. Thinner than you think.
Let the alcohol and water flash off and dry.
Buff the surface thoroughly with a clean dry microfiber. This step is what separates a finish from a smear.
Check the surface before the car goes back into use, especially anywhere a foot lands.
The reasoning
Why these three ingredients?
Three things in the bottle, three jobs. Understanding which one does what is how you adjust it intelligently instead of guessing.
75%
Isopropyl alcohol
The fast-evaporating carrier. It spreads the glycerin evenly and then leaves. Koch-Chemie’s published Gummifix SDS lists roughly 70–80% 2-propanol, so I kept the DIY mixture inside that same general alcohol range.
17–22%
Distilled water
Brings the alcohol concentration down and gives me room to move the glycerin up or down while keeping the finished bottle at the same size. It’s the balancing number, which is why it changes between the three cards and the other two don’t.
3–8%
Vegetable glycerin
The part of this DIY recipe doing most of the richer, darker appearance. More glycerin, more visible finish — but also more material sitting on the surface afterward. I have no source saying Koch-Chemie uses glycerin, so I’m not claiming they do.
Before you mix
The whole shopping list
Six things. Tap one to tick it off — the page remembers on this device.
Curious what we actually run on customer cars? It’s all listed on our gear page.
Read this part
A few important notes
This is a homemade detailing mixture, not a manufacturer-tested formulation. I’m not trying to scare you off it — I made it and I used it. But 75% alcohol is real chemistry and it deserves a bit of respect.
- Spot-test every new material before you commit to a whole surface.
- Don’t assume it’s compatible with every type of plastic or vinyl. They’re not the same thing.
- Keep it off touchscreens, gauge-cluster lenses, and acrylic or clear instrument plastics.
- Keep it off leather, suede and fabric.
- Avoid steering wheels, pedal faces, and any surface where extra slickness could become a safety issue.
- Genuine Koch-Chemie Gummifix is marketed for slip-resistant surfaces. This homemade mixture has not been slip-tested — don’t assume it behaves the same way.
- Use it in good ventilation.
- Keep it away from flames, sparks, heaters and any ignition source. 75% IPA mixtures are highly flammable.
- Label the bottle clearly and keep it out of reach of children.
- Never mix it with bleach or with other cleaning products.
Questions
The things people ask me
Is this the actual Gummifix formula?
No. Koch-Chemie’s SDS publishes the isopropyl alcohol concentration but does not disclose the complete proprietary formula. This is simply the DIY mixture I made and tested for the video.
Why 75% IPA?
Gummifix’s published SDS lists approximately 70–80% 2-propanol, so I kept the DIY mixture within that general alcohol concentration rather than picking a number at random.
Can I use 70% rubbing alcohol instead of 99.9%?
Do not use these exact measurements with 70% IPA, because that bottle already contains a significant amount of water. Every recipe and the calculator on this page assume 99.9% IPA.
Can I add more glycerin?
You can experiment, but I’d start between 3% and 6%. More glycerin increases both the visible finish and the residue left behind, so 8% is already the high-gloss version I’d test carefully before going any higher.
Does vegetable glycerin work?
Yes. Use plain USP vegetable glycerin without fragrance, dyes or added oils.
Can I use it on tires?
It can temporarily darken exterior rubber, but because glycerin is water soluble I wouldn’t expect the durability of a purpose-made tire dressing.
Can I use it on pedals?
No. Genuine Gummifix is specifically formulated and marketed for slip-resistant applications. This homemade version has not been friction or slip tested, so I would keep it off pedal faces and other critical control surfaces.
Optional
Want the recipe sent to your phone?
Drop your name and where to send it. That’s all this does.