Ceramic Coating
How We Do It
This isn't a quick spray wax. A ceramic coating is a semi-permanent layer of protection bonded directly to your clear coat — and getting it right takes prep, correction, and precision.

What We Actually Do
Every ceramic coating appointment follows these 5 stages, in order. The preparation work takes more time than the coating itself — and that's the point.
Full Exterior Detail
Every ceramic coating starts with a complete exterior detail — foam cannon, iron decontamination, two-bucket contact wash, and a thorough rinse. The coating bonds to paint, so the paint must be free of every contaminant, bonded particle, and wax layer before we go further.
- Foam cannon pre-wash (pH-neutral)
- Iron decontamination spray
- Two-bucket hand wash with grit guards
- Clay bar decontamination on all paint panels
- Full rinse and blowout dry
Paint Correction
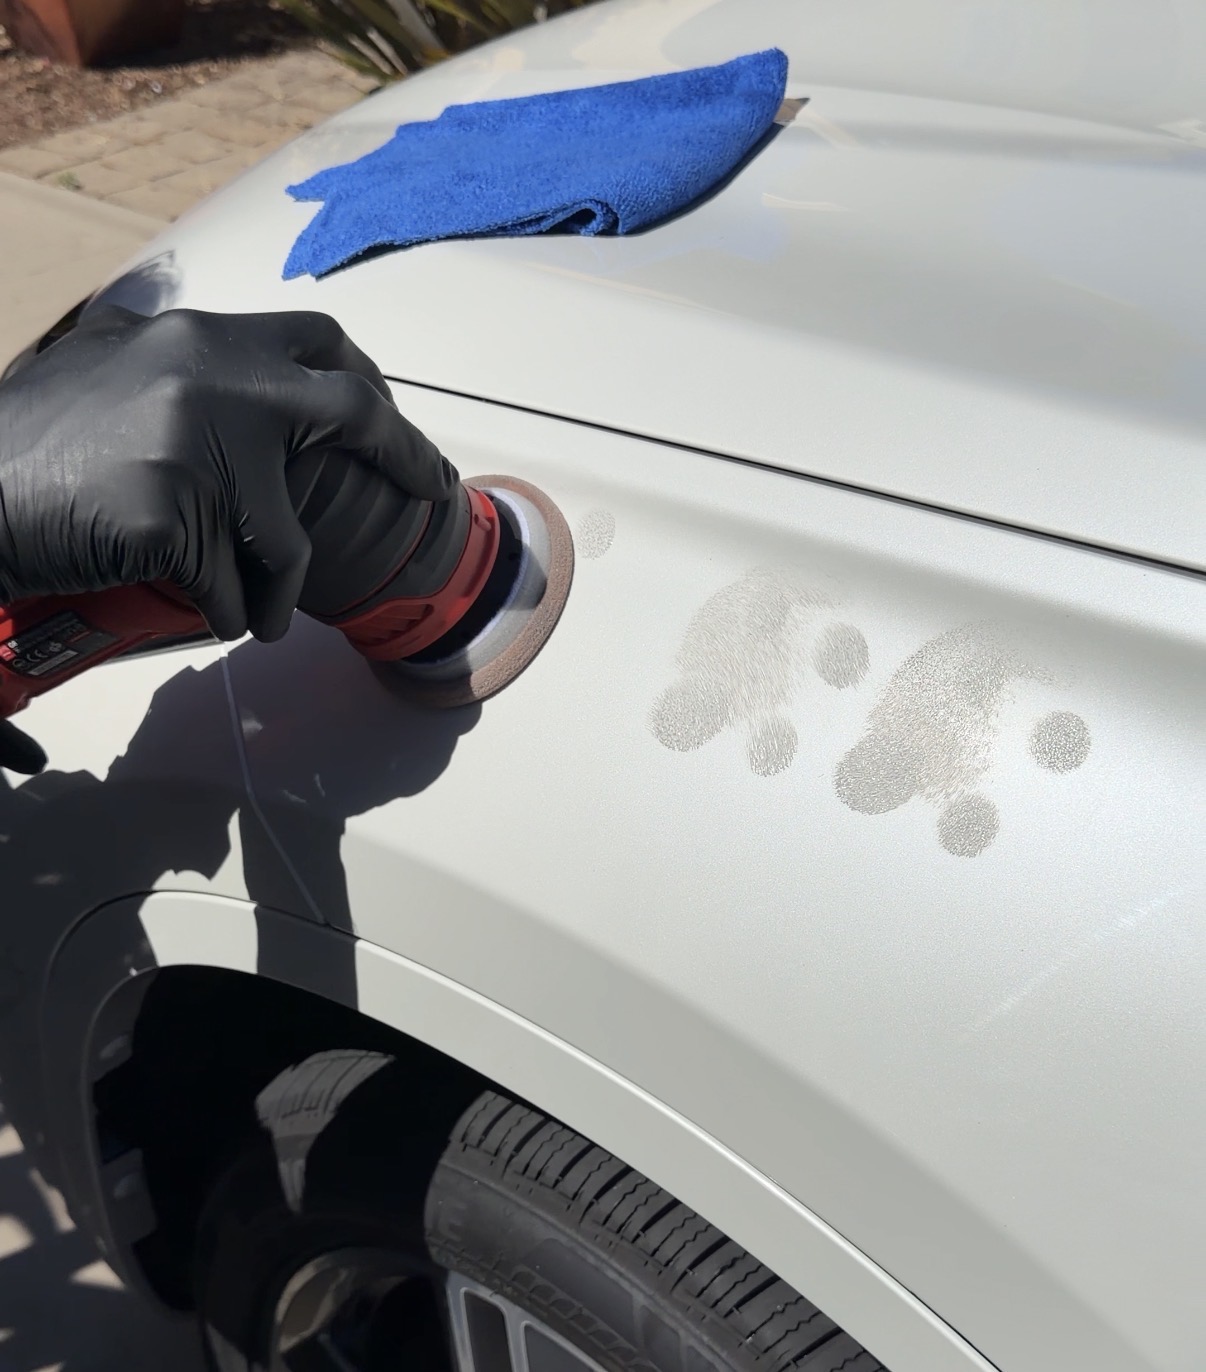
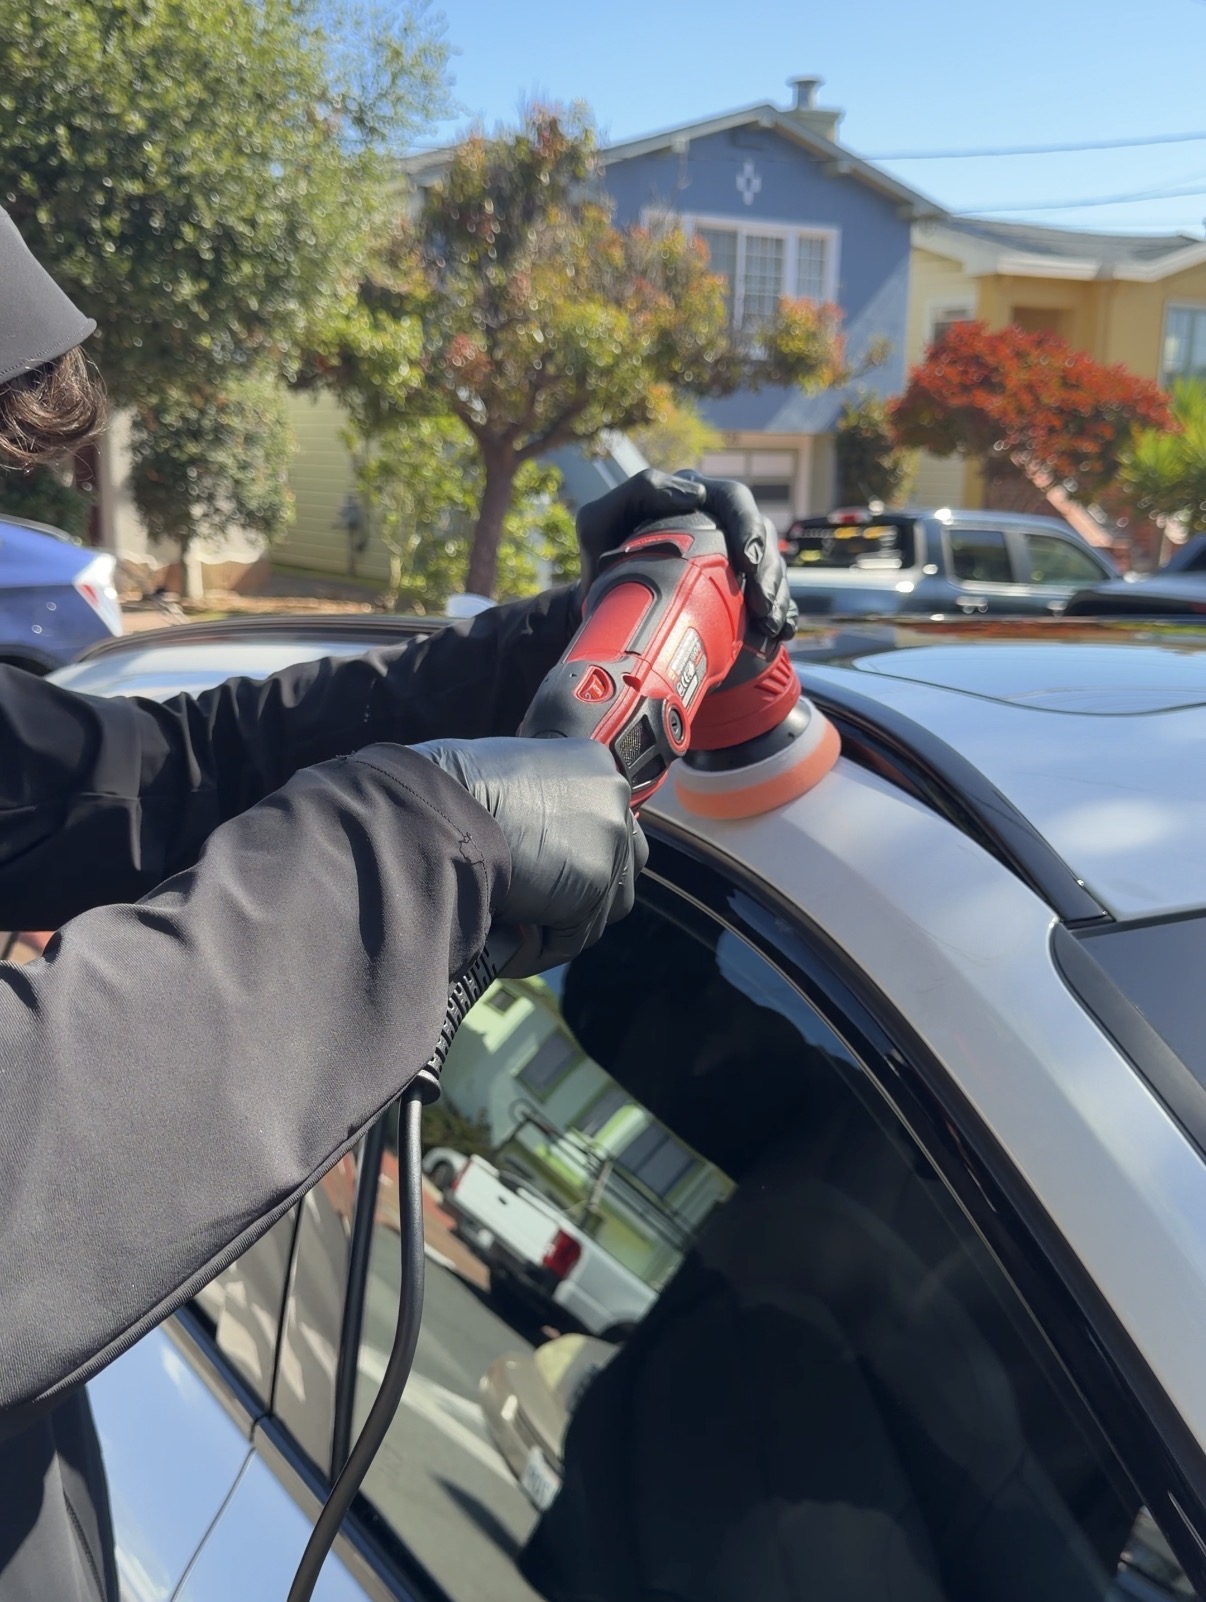
Once the paint is clean, we assess the condition under a bright inspection light. Most daily-driver vehicles have swirl marks, light scratches, and oxidation that will be permanently locked under the coating if not removed first. We machine-polish to correct them.
- Multi-stage inspection under panel light
- Single-stage or dual-stage machine polish (depending on condition)
- Rotary or DA polisher with cutting compound + finishing polish
- Final inspection pass confirming correction before moving on
Panel Wipe
After correction, all polishing oils and residue are fully stripped from every panel using an IPA (isopropyl alcohol) wipe-down. This step is critical — any oil left on the surface will prevent the coating from bonding correctly. We work panel by panel.
Ceramic Coating Application
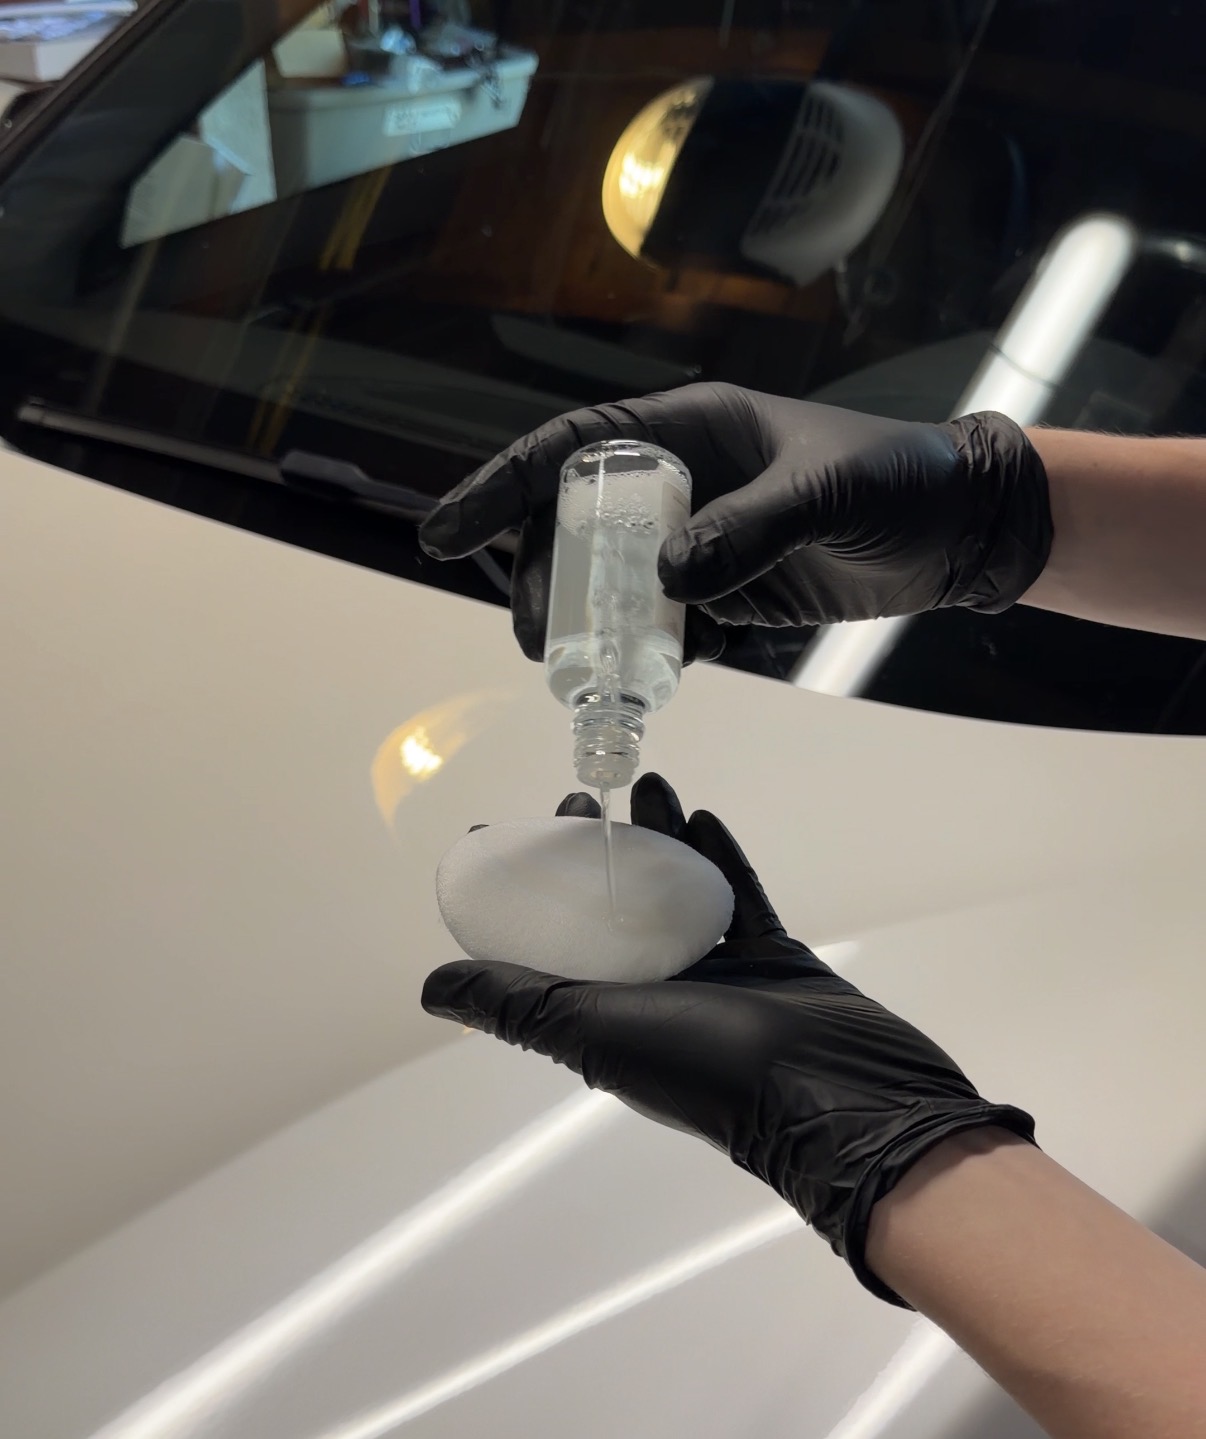
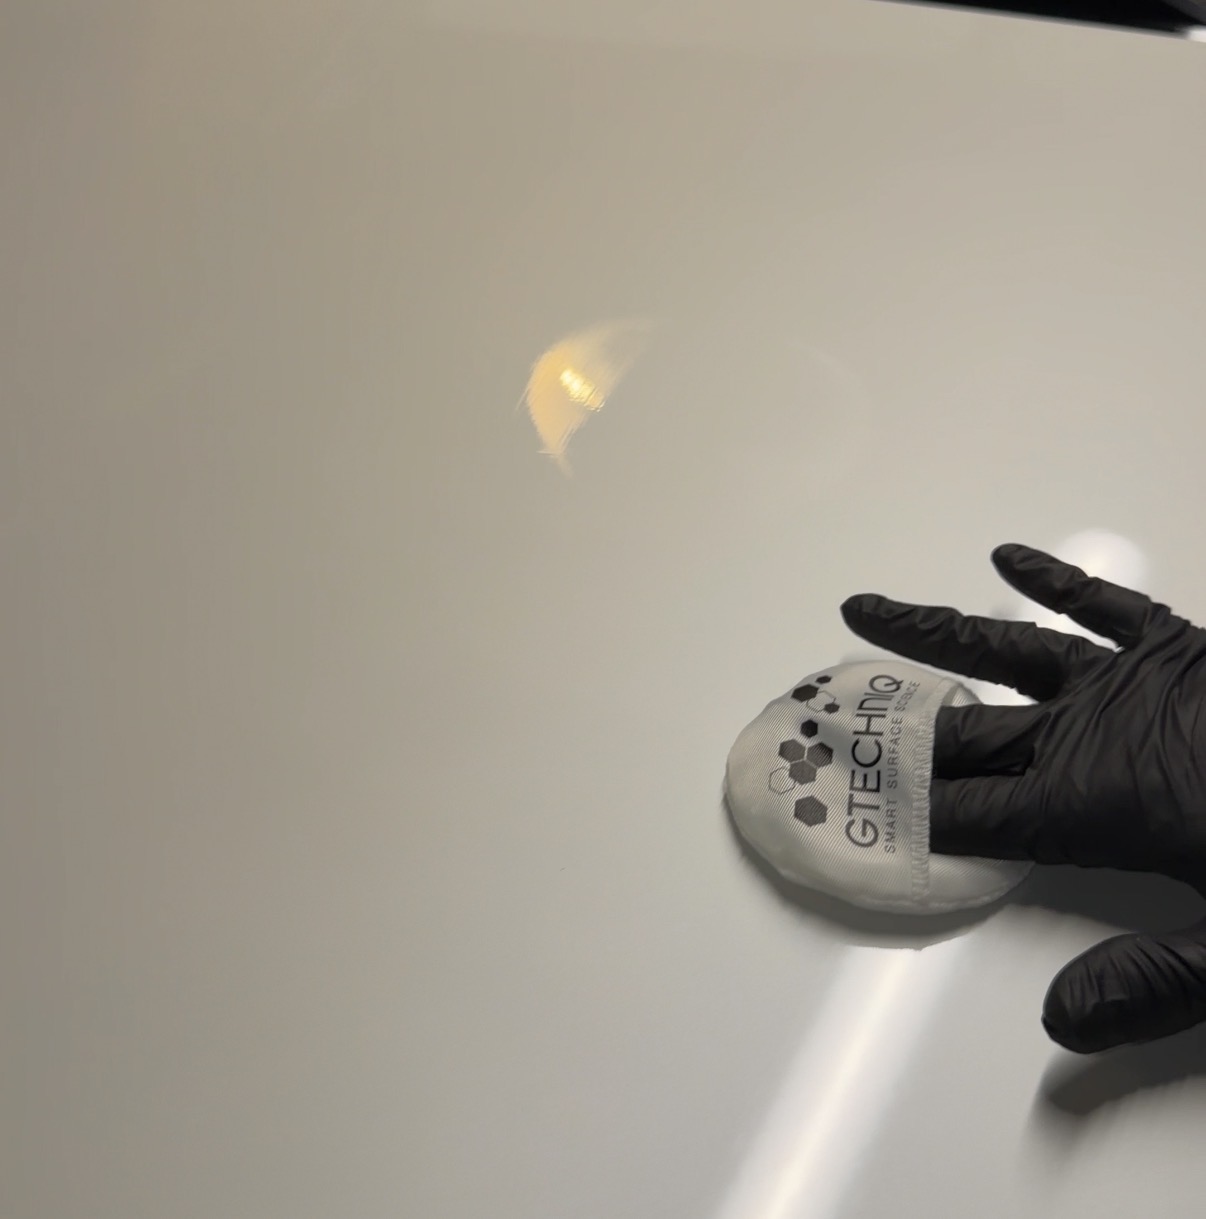
We apply Gtechniq ceramic coating panel by panel using a foam applicator. The product is worked into the paint in a cross-hatch pattern, allowed to flash, then leveled with a clean microfiber. Each panel is inspected under light before moving to the next.
- Gyeon Q² CanCoat EVO, Gtechniq EXO v5 or Gtechniq Crystal Serum Light (depending on package)
- Panel-by-panel application — not a full-car spray
- Flash time managed per temperature and humidity conditions
- High-pile microfiber for final leveling
Cure & Aftercare
After application, the coating needs time to fully cross-link and cure. You'll receive aftercare instructions specific to the product applied.
- 24 hours minimum before any water contact
- 7 days before washing
- 2–4 weeks to reach full hardness
- Avoid automated car washes permanently
- Annual or semi-annual top coat spray to maintain hydrophobics
Ceramic Coating FAQ
Get a Ceramic Coating Quote
We quote based on vehicle size, paint condition, and the level of correction needed. Fill out a quote request and we'll get back to you within 24 hours.